Introduction
Hello my friends!
Today I want to give an example of how you can set up and run you application (in my example: simple web app) on your Google Cloud Platform. I will show you how to set you project, configure build and deploy process.
This step by step instruction with screenshots and detailed information. If you are a beginner with Google Cloud Platform or Kubernetes: that’s what you need.
I want to show how you can use Google services for different stuff. We will use this tech stack for our project:
- Google Kubernetes Engine
- Google Cloud Builder
- Google Cloud Containers
- GitHub
We will use GitOps flow to deploy and manage our cluster and application, this is a general diagram of how it works:

Simple put, it should work like that: you merge pull request to your service and it deploys automatically. And if you change some configuration of your service (for example port or number of replicas) and merge pull request with these changes: it again applied automatically to your cluster.
Creating new GCloud project and initializing Kubernetes cluster
Less talk and let’s start our new project in Google Cloud Platform. First we need to open Google Cloud Platform and create new project there (now you can receive $300 for you tests and use Google Cloud for free)
https://console.cloud.google.com/home/

We can call it “test-project” or as you want:

After that on the left side menu select Kubernetes Engine and press Create cluster

Then you should select configuration for a new cluster, you don’t need anything special, just standard cluster and you can select your zone there

You need tools kubectl and gcloud to manage your cluster, if you don’t have that,
check how install it here:
After that, we should connect from our machine to cluster (after it is ready), press connect button:

And copy and paste that command into your terminal

Your terminal:

Try to run this command to check if everything is fine:
kubectl cluster-info

Nice! Now we are connected to out cluster
Prepare Golang application to deploy
Now we need to prepare our application. I will give you example example of simple web application.
First you need to fork project that we will run on our cluster:
http://github.com/pcherednichenko/simpleWebApp
Inside of that folder you fill find a simple main file:
package main

import (
	"fmt"
	"net/http"
)

func main() {
	http.HandleFunc("/", HelloServer)
	http.ListenAndServe(":80", nil)
}

func HelloServer(w http.ResponseWriter, r *http.Request) {
	fmt.Fprint(w, "Hello world!")
}
and Dockerfile to build our go application:
FROM golang:1.13 as builder
WORKDIR /go/src/github.com/pcherednichenko/simpleWebApp
ADD . .
ENV GO111MODULE=on
RUN CGO_ENABLED=0 GOOS=linux go build -o simpleWebApp

FROM alpine:3.10.2
RUN apk --no-cache add ca-certificates
COPY --from=builder /go/src/github.com/pcherednichenko/simpleWebApp/simpleWebApp simpleWebApp

CMD ["./simpleWebApp"]
Set automatic docker build in Cloud Build for our application
Kubernetes deploy docker images of your application and automatically checks every 5 minutes if a new image of your application has appeared. Therefore, first we need to configure the automatic build of application for the master branch, which kubernetes can then pick up
First on left side select Cloud Builder -> Triggers

Then you should enable trigger API:

And now you can add our simple web application repo for automatic build
- Press
Connect repositoryand select github source:

- Select our
simpleWebAppin list

-
And finally press
Create push trigger -
Now we should change little bit our configuration, press edit trigger on right side:

- Change trigger to react only on pushes to master and add master branch for regexp

Update docker image name from usual one:
gcr.io/test-project-XXXXXX/github.com/YOURNAME/simplewebapp:$SHORT_SHA
to
gcr.io/test-project-XXXXXX/github.com/YOURNAME/simplewebapp:production-$SHORT_SHA

-
Press
Savebutton -
Now you can run your trigger with
Run triggerbutton

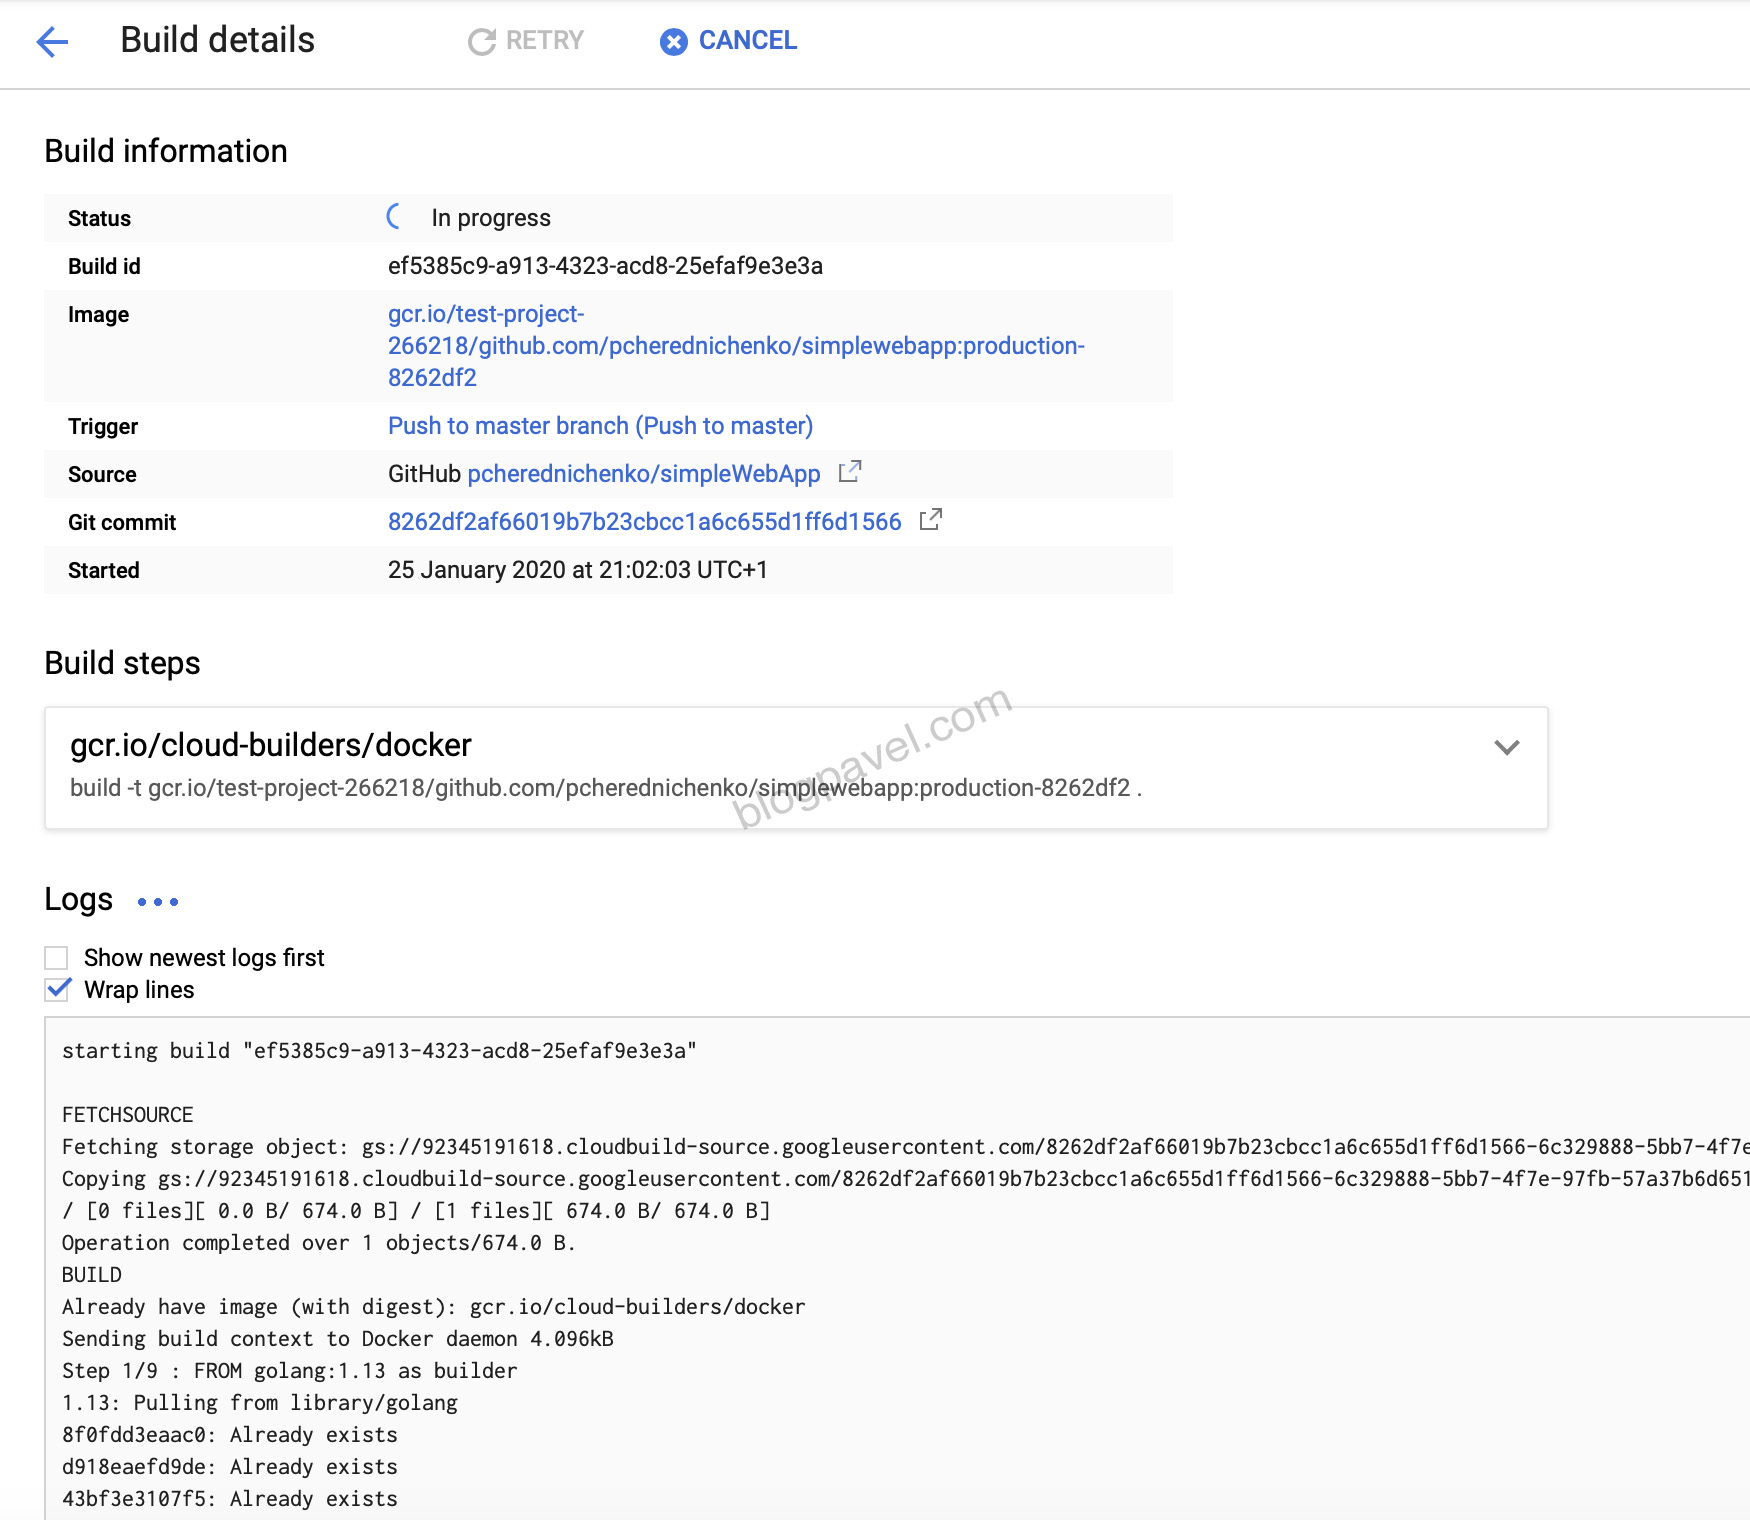
And you can see in trigger history how is your build running:

As result, you should see success build and url for our image, we will use this url later in Kubernetes configuration

Configure kubernetes cluster
Now we need to create new kubernetes configuration with parameters of our application
First you need to fork a basic configuration of our new cluster:
https://github.com/pcherednichenko/kubernetesconf
This is most basics example configuration and we should update it to our project.
In a folder kubernetesconf/releases/simplewebapp.yaml you will find configuration of
our simple web application. You need to update line 13:
    git: git@github.com/pcherednichenko/kubernetesconf
    path: charts/simplewebapp
    ref: master
to your repo name:
git@github.com/YOURNAME/kubernetesconf
and also change lines 18-19:
    image:
      repository: gcr.io/test-project-266218/github.com/pcherednichenko/simplewebapp
      tag: "production-8262df2"
    replicaCount: 1
My docker image url was, so I use it in lines above:
gcr.io/test-project-266218/github.com/pcherednichenko/simplewebapp:production-8262df2
You should specify your project there
    image:
      repository: gcr.io/YOURPROJECT/github.com/YOURREPO/simplewebapp
      tag: "production-YOUR_IMAGE_SHORT_SHA"
    replicaCount: 1
Update file with you data and push it to master to your forked repo
Apply a configuration to Google Cloud Kubernetes Cluster
It’s time to put all this configuration into our google kubernetes cluster and launch our website First we need to add flux and helm to our cluster Flux and helm will update the configuration and check for new docker images. These are kind of the main managers of our cluster.
Basically, I will just follow this instruction for installation with my parameters
https://github.com/fluxcd/helm-operator-get-started
- First run commands to install all tools
helm repo add fluxcd https://charts.fluxcd.io
kubectl create ns fluxcd

- Now important step we will add our repo url as configuration for our kubernetes cluster
You should run that command:
helm upgrade -i flux fluxcd/flux --wait \
--namespace fluxcd \
--set git.url=git@github.com:YOURUSER/kubernetesconf
And don’t forget to replace YOURUSER with yours name in github
Result of that command:

- Now you can install helm tools with commands:
kubectl apply -f https://raw.githubusercontent.com/fluxcd/helm-operator/master/deploy/flux-helm-release-crd.yaml
and
helm upgrade -i helm-operator fluxcd/helm-operator --wait \
--namespace fluxcd \
--set git.ssh.secretName=flux-git-deploy \
--set helm.versions=v3
Result:

- You can now check with command
kubectl -n fluxcd get podsthat pods created correctly

- Now you should add write rights for github repo to your flux, for that you need to set SSH key in github
First run:
fluxctl identity --k8s-fwd-ns fluxcd
And copy key from that command to github, open your forked github repo: https://github.com/YOURUSER/kubernetesconf
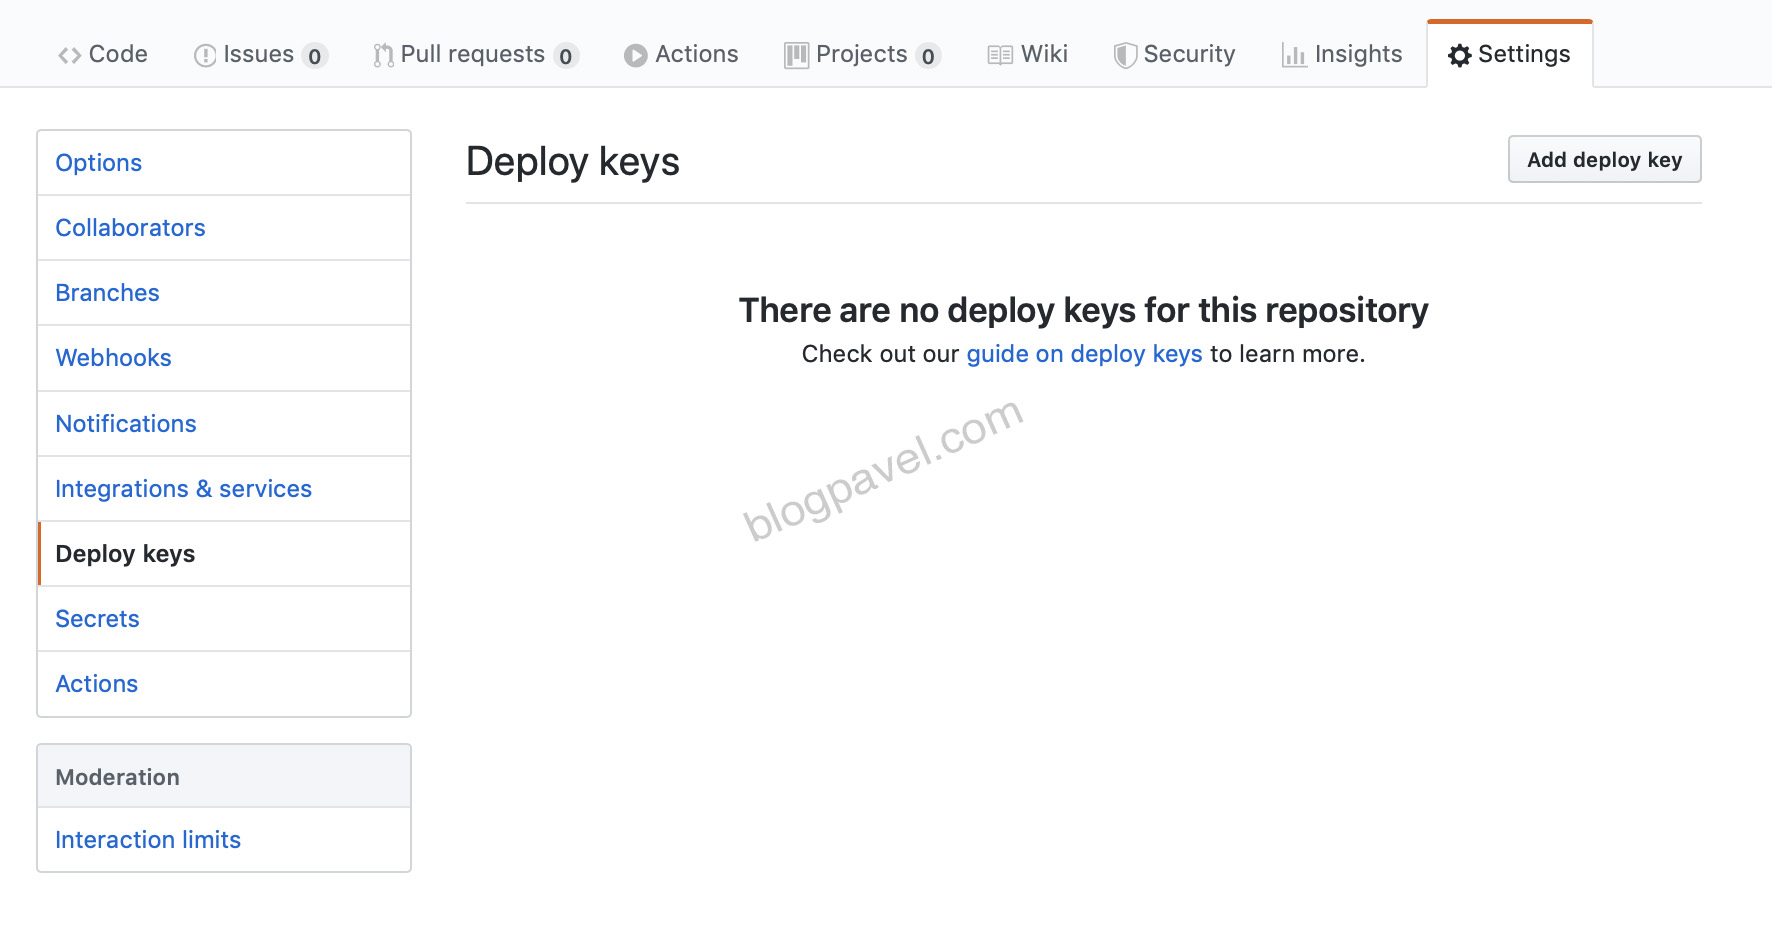
Select Setting -> Deploy keys -> Add new

Paste your key, put checkbox Allow write access (!) and press Add key

-
Now you can open google cloud console and select Kubernetes cluster
-
In menu
Services & Ingressyou will find your simplewebapp application:

- If you press on IP address you will see “Hello world” text:

Workflow
Now we decided that we want to not only show “Hello world!” to users but also wish them a good day. For that we need to change line in our golang application:
func HelloServer(w http.ResponseWriter, r *http.Request) {
	fmt.Fprint(w, "Hello world! Have a good day!")
}
After that just commit and push these changes to master branch and enjoy the magic. New changes will trigger build automatically:

After build will be done kubernetes will notice that build changes and it will start automatic deploy your service. And it will push back to your kubernetes repo commit with hash of new docker image (it can take up to 5 min).
Commit from flux:

New docker image hash in his commit:

If you open url again you will see new text there:

Conclusion
As result our system worked perfectly: when new changes were made a docker image was automatically builder, which then kubernetes automatically downloaded and deployed using flux to our production.
This method of work speeds up development at times and simplifies it. All changes automatically appear in production within 5 minutes without requiring pressing any keys.
comments powered by Disqus